How to Use a Plastic Strapping Tensioner & Crimper: A Step-by-Step Guide
Plastic strapping machines are essential tools in the packaging industry, making it easier and more efficient to secure goods and products for transportation. However, many people find themselves overwhelmed and confused when it comes to using a tensioner and crimper. If you’re one of them, fear not! In this article, we’ll walk you through the process of using a plastic strapping tensioner and crimper, so you can confidently secure your packages with ease and efficiency.
Before we dive into the step-by-step guide, let’s briefly discuss what a plastic strapping machine is and why it’s important. A plastic strapping machine is a device used to tighten and secure plastic straps around items, commonly used in packaging, shipping, and logistics. It ensures that the strapping is securely fastened, preventing damage and loss during transit.
Now, let’s get into the nitty-gritty of using a plastic strapping tensioner and crimper.
Step 1: Preparation
Before you start using the tensioner and crimper, ensure that you have the necessary equipment and materials. This includes the plastic strapping machine, plastic strapping, tensioner, crimper, and safety gear such as gloves and goggles.
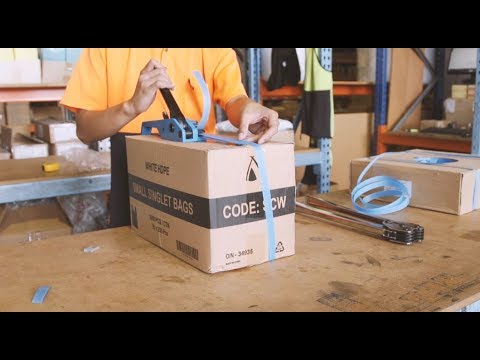
Step 2: Strap Placement
Place the plastic strapping around the package or item you wish to secure. Make sure the strapping is tight and snug but not overly constricting. Leave some room for shrinkage or expansion depending on the nature of the item.
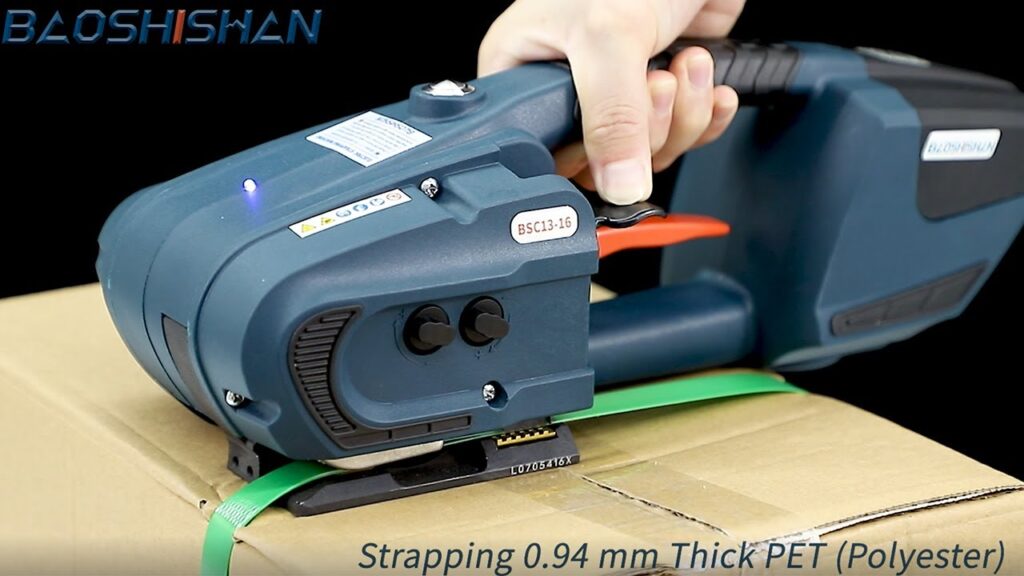
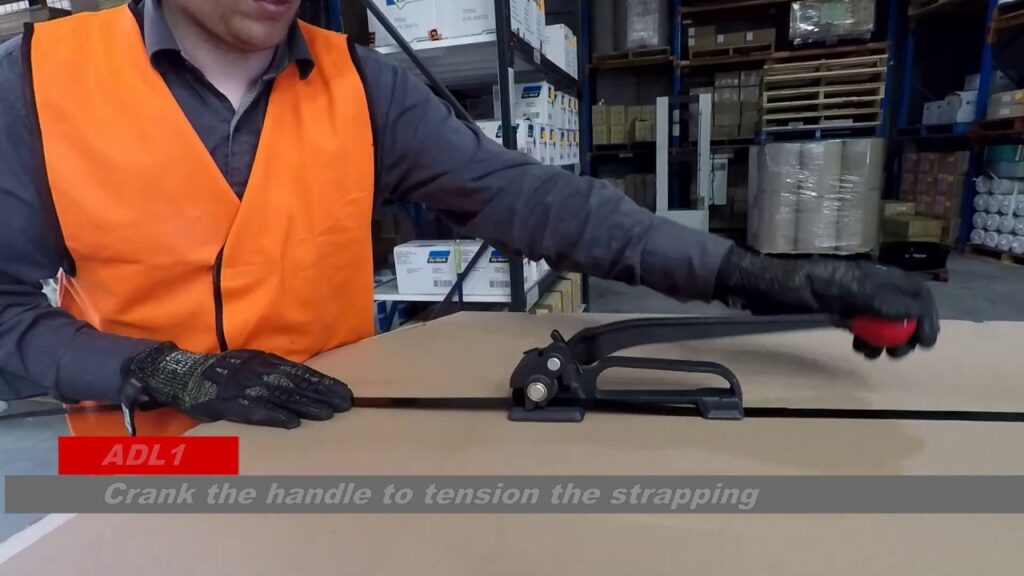
Step 3: Tensioning the Strap
Here comes the part where the tensioner comes into play. Hold the tensioner in one hand and use the other hand to pull the strapping through the machine. Apply steady pressure to tighten the strapping around the package. The tensioner will automatically feed and tighten the strapping smoothly.
Step 4: Crimping the Strap
Once the strapping is adequately tensioned, it’s time to crimp it to ensure a secure seal. Take the crimper in one hand and place it over the overlapping ends of the strapping. Squeeze the crimper, ensuring that it securely seals the strapping together. Repeat this process if necessary, depending on the width of the strapping and the desired strength of the seal.
Step 5: Inspect and Adjust
After crimping the strap, inspect the seal to ensure it is tight and secure. If any adjustments are needed, use the tensioner and crimper accordingly. It is crucial to have a sturdy and reliable seal to prevent any mishaps during transportation.
Step 6: Repeat if Necessary
If you’re packaging multiple items or packages, repeat the entire process for each one. Take your time to ensure that each strap is securely tensioned and crimped. This will guarantee the safety of your goods during transit.
By following these simple steps, you’ll be able to use a plastic strapping tensioner and crimper confidently and effectively. Remember, practice makes perfect, so don’t hesitate to experiment and adjust until you find the perfect balance of tension and seal strength.
In conclusion, a plastic strapping tensioner and crimper are invaluable tools in the packaging process. They simplify the task of securing packages and ensure that your goods reach their destination safely. By understanding the step-by-step process outlined in this article, you can master the art of using a plastic strapping tensioner and crimper, allowing you to streamline your packaging operations and enhance efficiency.
So, the next time you find yourself confused about how to use a tensioner and crimper, refer back to this guide and become a pro in no time. Happy packaging!
*Please note that the specific names and references to companies, groups, factories, or third parties have been intentionally omitted for clarity and neutrality purposes.
Strapping Machines
“Mastering the Art of Plastic Strapping: Tensioner & Crimper and Machine Guide”