Great Way to Level Up Your Packaging: Shrink Wrap Your Orders
Packaging plays a crucial role in the success of any business. It not only protects the products during transit but also serves as a marketing tool to attract potential customers. In today's fast-paced world, where consumer expectations are constantly evolving, it is important for businesses to level up their packaging game. One great way to do that is by incorporating shrink wrap into your packaging process.
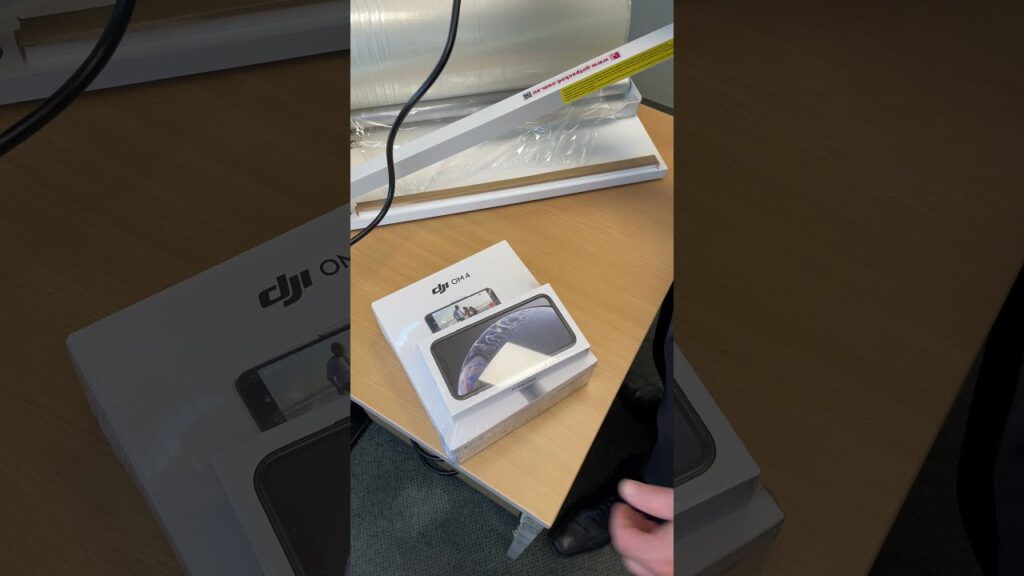
Shrink wrapping is a technique that involves using heat to shrink plastic wrap tightly around products. This creates a secure and professional-looking package that not only protects the items but also enhances their visual appeal. In this article, we will explore the benefits of using a plastic shrink wrap machine and a heat gun for this packaging technique.
Using a plastic shrink wrap machine is a game-changer when it comes to packaging efficiency. With its automated features, it simplifies the process and saves valuable time. The machine works by feeding shrink wrap bags into it, which are then sealed and cut to the desired size. It then applies heat evenly, causing the plastic to shrink tightly around the product. The result is a neatly wrapped package that is ready to be shipped.
One of the key advantages of using a plastic shrink wrap machine is the level of protection it provides to the goods. The tightly sealed plastic wrap acts as a barrier against dust, moisture, and other external elements that could potentially damage the products. This is particularly beneficial when shipping fragile or delicate items that require an extra layer of protection. Additionally, shrink wrap also prevents tampering, as any attempt to open the package would be immediately visible.
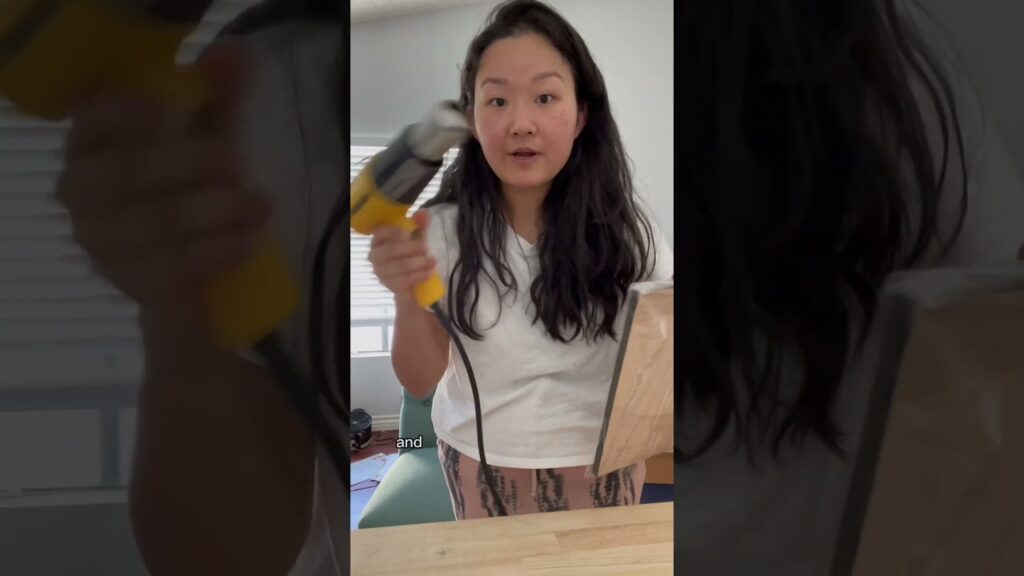
Now let's delve into the step-by-step guide on how to use a heat gun for shrink wrapping:
1. Prepare the heat gun: Make sure the heat gun is set to the appropriate temperature for the type of shrink wrap being used. It is important to read the manufacturer's instructions and follow the recommended temperature guidelines.
2. Cut the shrink wrap: Measure and cut a piece of shrink wrap that is slightly larger than the item being packaged. This will ensure that it covers the entire product adequately.
3. Position the product: Place the product in the center of the shrink wrap, ensuring that there is enough room on all sides for the plastic to shrink.
4. Apply heat: Hold the heat gun a few inches away from the shrink wrap and move it evenly across the surface. The heat will cause the plastic to shrink and conform to the shape of the item.
5. Finish the shrink wrap: Once the plastic has tightly wrapped around the product, use a heat-resistant glove or a sealing tool to press the edges together. This will create a secure seal and prevent the wrap from unraveling.
By following these simple steps, you can achieve perfect shrink wrap results every time. It is important to note that practice makes perfect, so don't be discouraged if you encounter some challenges in the beginning. With time and experience, you will become more proficient in using a heat gun for shrink wrapping.
In conclusion, incorporating shrink wrap into your packaging process is an excellent way to level up your business. Not only does it provide added protection and security for your products, but it also enhances their visual appeal. Investing in a plastic shrink wrap machine and a heat gun will streamline your packaging operations and ensure consistent, professional-looking results. So why wait? Take your packaging to the next level with shrink wrap and watch your business thrive.
Shrinking Machine
"Mastering Heat Guns for Shrink Wrapping: The Ultimate Step-by-Step Tutorial for Perfect Results and Efficient Plastic Shrink Wrap Techniques"