Title: Step-by-Step Tutorial for Installing Joint Pack on 800A or Higher Rated Busway | Schneider Electric Support
Description:
Introduction:
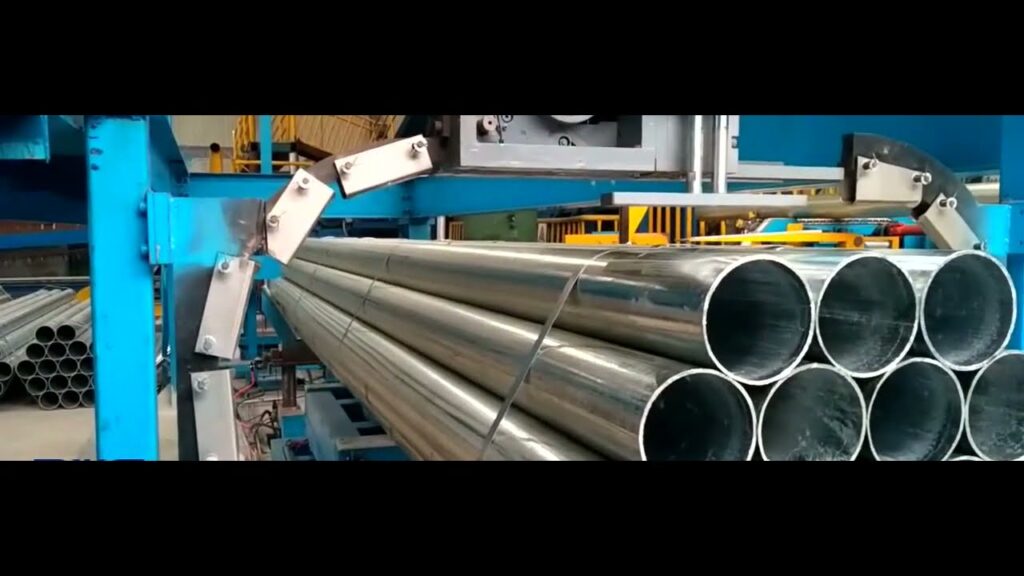
This tutorial video provides step-by-step guidance on how to install joint pack on 800A or higher rated busway. The joint pack is used to mate two I-line 800A or higher rated busway lengths such as AP, AF, CP, CF I-line and I-line II Busways.
Video Content:
The video starts with an introduction to the joint pack, its various types and model numbers. The video then describes the tools required for installing the joint pack, including torque wrench, nut driver, pliers, crimping tool, and others. Then, the video provides detailed instructions like identifying the location for installing the joint pack, selecting the appropriate joint pack, aligning the two busway lengths, fixing the joint pack in place, and tightening the retainers.
The video also covers several important aspects like avoiding cross-threading of retainers, using appropriate torque value for retainers, inspecting the joint pack after installation, and testing its electrical continuity.
At the end of the video, a summary of the key steps is provided along with some useful tips to ensure a successful joint pack installation.
Tags and Keywords:
Joint pack, Busway, I-line, Schneider Electric, Installation, Tutorial, 800A, High rated, Retainers, Torque, Electrical continuity.
Hashtags:
#SchneiderElectric #Busway #JointPackInstallation #Iline #Tutorial #800A #HighRated #Torque #ElectricalContinuity #Retainers.
Conclusion:
This video tutorial provides a comprehensive guide on installing joint pack on 800A or higher rated busway, aimed at electrical professionals and technicians who need reliable and safe jointing solutions. Use this step-by-step tutorial to make your joint pack installation easy and accurate.