## Installation for 10 Ton Electric 90° Injection Mold Flipper or Rotator with Roller on the Surface
### Introduction
Welcome to our informative video on the installation process for the 10 Ton Electric 90° Injection Mold Flipper or Rotator with Roller on the Surface. In this video, we will guide you through the necessary steps to ensure a successful installation of this innovative machinery. Whether you are a seasoned professional or new to the manufacturing industry, this video will provide you with valuable insights and expert tips.
### Video Content
In this video, we will cover the following key points:
1. **Choosing the Right Mold Flipper**: Before diving into the installation process, it’s crucial to select the appropriate mold flipper for your specific needs. We will discuss the various factors to consider, such as weight capacity, rotational angle, and roller functionality. Our aim is to help you make an informed decision that maximizes your operational efficiency.
2. **Installation Process**: Once you have chosen the ideal mold flipper, we will guide you through each step of the installation process. From preparing the workspace to securely attaching the rotator with the roller to your injection mold, we leave no stone unturned. Our comprehensive instructions ensure a seamless installation experience.
3. **Tips for Optimal Performance**: To guarantee long-lasting and reliable performance of your 10 Ton Electric 90° Injection Mold Flipper or Rotator, we will share some valuable tips and best practices. These tips cover maintenance, safety precautions, and any additional adjustments you may need to make based on your specific requirements.
### How to Choose the Right Mold Flipper?
Selecting the right mold rotator is vital to enhance productivity and ensure efficient operations. Our featured blog article, “How to Choose the Right Mold Rotator for Your Mold?” provides an in-depth overview of the important factors to consider, including weight capacity, rotational angle, roller functionality, and overall durability. By providing detailed insights and practical advice, the article assists industry professionals in making well-informed decisions when investing in a mold flipper.
### Installation for 10 Ton Electric 90° Injection Mold Flipper or Rotator with Roller on the Surface
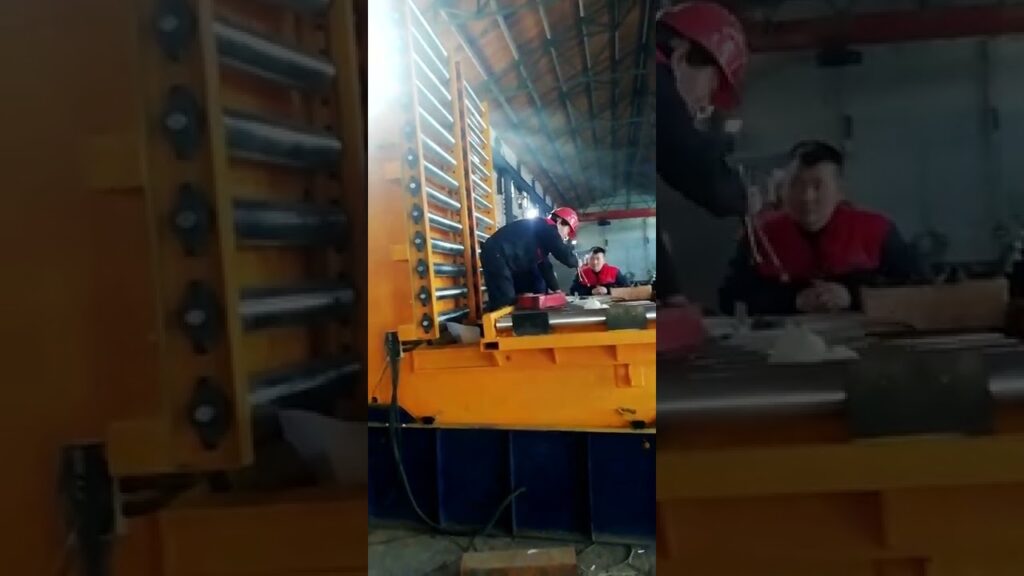
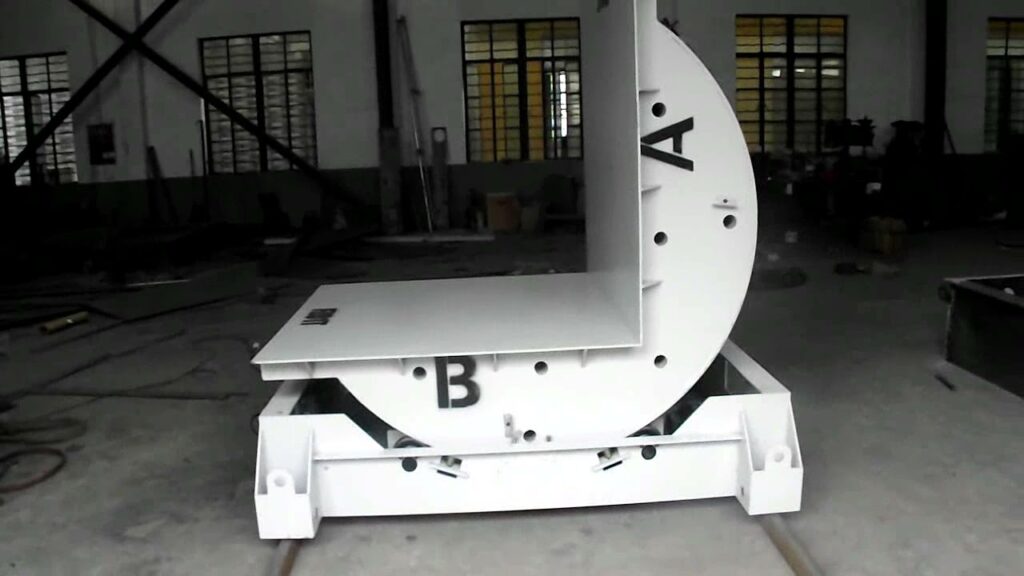
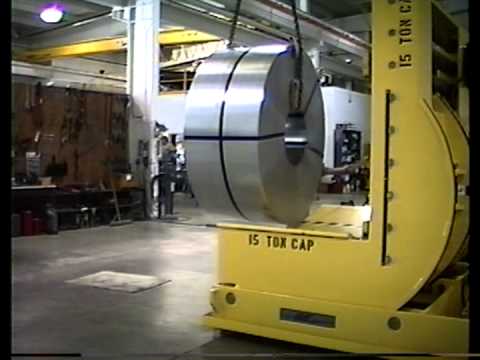
Now, let’s focus on the installation process for the 10 Ton Electric 90° Injection Mold Flipper or Rotator with Roller on the Surface. This machinery is renowned for its efficiency, reliability, and robust construction. To ensure a successful installation, please follow these steps:
**Step 1: Preparing the Workspace**
– Clear the area and ensure sufficient space for smooth installation.
– Make sure the surface is clean, flat, and capable of supporting the weight of the mold flipper.
**Step 2: Safety Precautions**
– Prioritize safety by wearing appropriate personal protective equipment (PPE), including safety goggles and gloves.
– Make sure all power sources to the machinery are turned off during the installation process.
**Step 3: Assembling the Mold Flipper**
– Carefully unpack all components of the mold flipper and ensure all parts are in good condition.
– Follow the user manual provided by the manufacturer to assemble the mold flipper correctly.
– Double-check all connections and ensure everything is securely fastened.
**Step 4: Attaching the Rotator with the Roller**
– Position the injection mold on the surface and align it with the roller mechanism of the mold flipper.
– Gently lower the rotator onto the mold, ensuring a secure and stable connection between the two.
– Make any necessary adjustments to the roller positioning to guarantee optimal functionality.
**Step 5: Testing and Fine-tuning**
– Gradually test the rotation functionality of the mold flipper, making sure it operates smoothly.
– If any issues arise, carefully inspect the connections and adjust as required.
– Conduct thorough testing to validate the performance and stability of the mold flipper.
By following these steps, you can confidently and successfully install the 10 Ton Electric 90° Injection Mold Flipper or Rotator with Roller on the Surface.
### Conclusion
In conclusion, this video has provided you with a comprehensive guide to installing the 10 Ton Electric 90° Injection Mold Flipper or Rotator with Roller on the Surface. From choosing the right mold flipper to executing the installation process with precision, we are confident that you are now equipped with the necessary knowledge and insights to achieve outstanding results in your manufacturing operations. For further detailed information on selecting the perfect mold rotator, we recommend referring to our article, “How to Choose the Right Mold Rotator for Your Mold?” Happy flipping!
—
*Additional Tags and Keywords: mold flipper, mold rotator, installation process, 10-ton electric flipper, 90° rotation, roller functionality, injection mold, manufacturing industry, operational efficiency, productivity, maintenance, safety precautions, performance optimization.*
*Hashtags: #moldflipper #moldrotator #installationprocess #injectionmold #manufacturingindustry #productivity #safety #efficiency*
Mold Upender
Installation guide for electric injection mold flipper/rotator with roller surface (10-ton capacity, 90° rotation).


