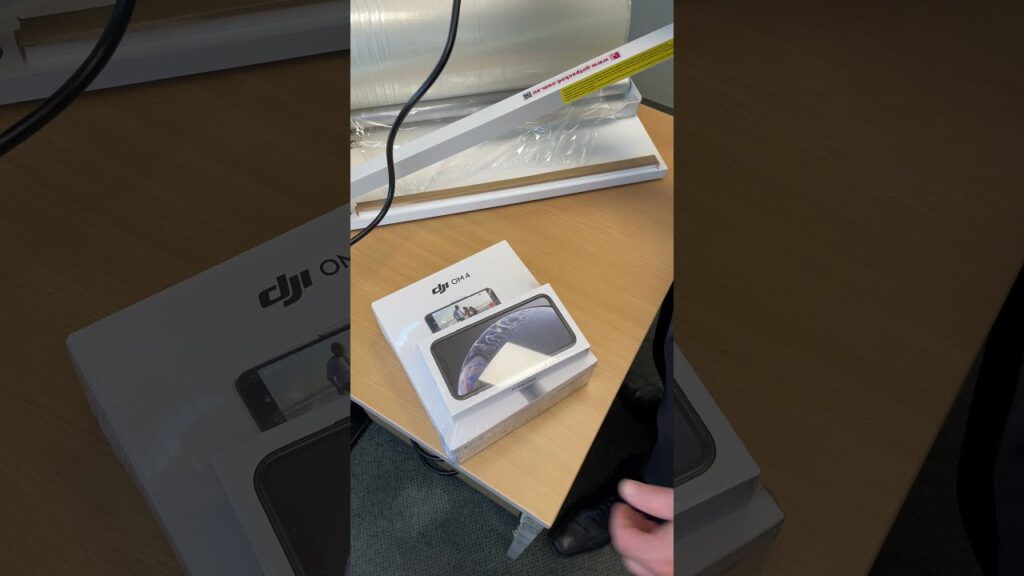
Shrink Wrapping Made Easy: A Step-by-Step Guide
Shrink wrap machines have revolutionized the packaging industry, providing a quick, efficient, and professional way to wrap products securely. Whether you’re a small business owner looking to improve your packaging process or a DIY enthusiast wanting to protect your precious items, learning how to shrink wrap a box with an I-Bar sealer is a valuable skill to possess. In this article, we will guide you through the process, ensuring that your shrink wrapping experience is seamless and successful.
Step 1: Gather Your Materials
Before you dive into the shrink wrapping process, it’s crucial to have all the necessary materials within reach. For this demonstration, we will be using Polyolefin shrink film, an ME600IP I-Bar sealer, and a heat gun. These tools are readily available in the market and can be purchased online or at your nearest packaging store.
Step 2: Prepare Your Workstation
Choose a clean and spacious area to set up your shrink wrapping station. It’s important to have enough room to maneuver the box and film without any obstructions. Clear away any clutter and ensure that your work surface is stable. This will prevent accidents and help you achieve a neatly wrapped package.
Step 3: Measuring the Film
Start by measuring the Polyolefin shrink film. Roll out a length of film that can comfortably cover your entire box, allowing a bit of excess on all sides. It’s better to have too much than too little, as you can always trim off the excess later.
Step 4: Positioning the Box
Place your small box in the center of the film, ensuring that it is centered both horizontally and vertically. Give it a slight push to make sure it sticks to the film’s surface. This will prevent it from shifting while you apply heat.
Step 5: Wrapping the Box
Now it’s time to bring out the ME600IP I-Bar sealer. Position the sealer’s heating element over one edge of the box, making sure it aligns with the film. Slowly lower the sealing arm to apply pressure and melt the film together. Move the sealer in a straight line, applying even pressure along the entire edge. Repeat this process for the remaining three sides of the box.
Step 6: Heat Sealing
Once the box is fully wrapped, it’s time to seal the open edges. Use the heat gun to apply heat evenly, starting from one end and moving steadily in a back-and-forth motion. The heat gun will shrink the film tightly around the box, creating a secure and professional-looking finish. Pay special attention to corners and edges to ensure a tight seal.
Step 7: Finishing Touches
After the shrink film has completely shrunk and adhered to the box, use the heat gun to trim any excess film. Be careful not to apply too much heat, as this can damage the box or create wrinkles in the film. Move the heat gun swiftly and smoothly to achieve a clean-cut edge. Take a step back and admire your perfectly wrapped box!
In conclusion, shrink wrapping a small box with a Polyolefin shrink film, an ME600IP I-Bar sealer, and a heat gun is a straightforward process that yields professional results. By following these simple steps and investing in the right tools, you can protect your products, improve the aesthetic appeal of your packaging, and enhance your overall business operations. So, why wait? Get your shrink wrap machine today and elevate your packaging game to new heights!
Shrinking Machine
“Efficient Box Wrapping: Unveiling the Process of Shrink Wrapping with I-Bar Sealer and Shrink Wrap Machine”


