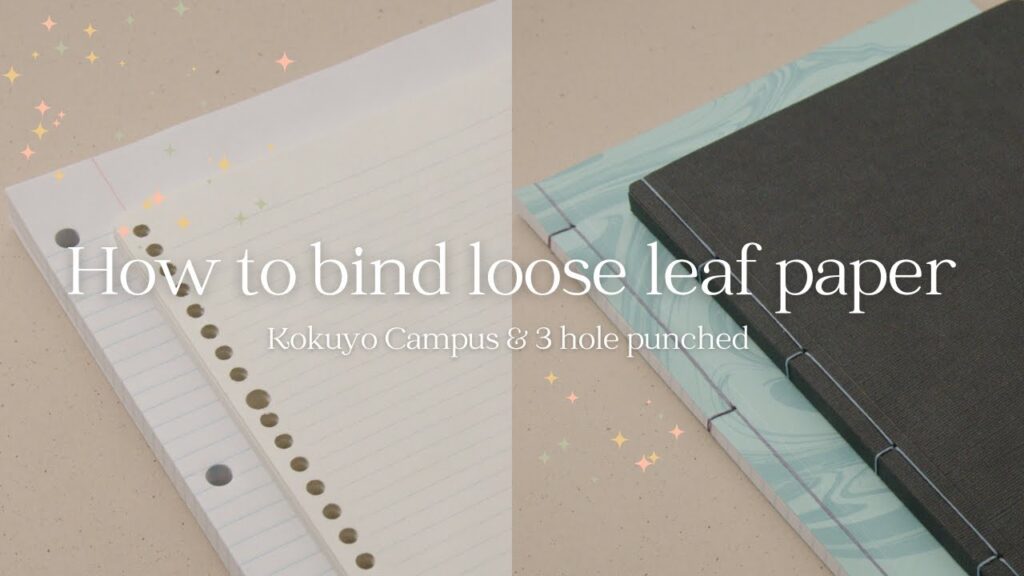
Title: TUTORIAL: Craft and Chill with Me - Create a Stunning Stab Binding Notebook Using Loose Leaf Binder Paper
Description:
===============================================
Introduction:
Discover the art of creating a beautiful and functional notebook with ease in this engaging tutorial. Join us as we delve into the world of crafting and experience the joy of making your very own notebook using lined loose leaf binder paper. Get ready to dive into a relaxing creative session and let your imagination flow as we guide you through each step of the stab binding process.
Video Content:
In this captivating tutorial, you will learn how to transform ordinary loose leaf binder paper into a remarkable notebook using the stab binding technique. We will provide you with a comprehensive overview of the materials needed, along with easy-to-follow instructions to ensure a successful outcome.
H2: Materials Required
Gather the following materials before starting your crafting session:
1. Lined loose leaf binder paper
2. Cardstock or decorative paper for covers
3. Ruler and pencil
4. Craft knife or scissors
5. Decorative adhesive tape or ribbon
6. Bone folder or any flat, smooth object
7. Awl or needle
8. Embroidery thread or waxed linen thread
9. Needle threader (optional but recommended)
H2: Step-by-Step Instructions
Follow these step-by-step instructions for creating your own notebook using the stab binding method:
1. Preparing the Paper
- Begin by cutting the loose leaf binder paper to your desired size, ensuring that it aligns with the dimensions of the cardstock or decorative paper covers.
- Neatly stack the paper sheets together and align them precisely.
2. Creating the Cover
- Cut the cardstock or decorative paper to the same dimensions as the lined loose leaf binder paper.
- Place the cover sheets on top of each other, ensuring they are centered and aligned.
3. Making Holes for Binding
- Use a ruler and pencil to mark evenly-spaced points along the spine of the cover and paper stack.
- With an awl or needle, carefully pierce through the marked points, creating aligned holes for binding.
4. Assembling the Notebook
- Thread the embroidery or waxed linen thread through a needle.
- Starting from the center hole, insert the needle into the first hole, leaving a tail of thread at the back for securing later.
- Progressively thread the needle through each hole, following a specific pattern (e.g., crisscross or straight stitch) until you reach the last hole.
- Secure the thread by tying it with the tail left at the beginning, making a tight knot at the back.
- Trim any excess thread.
5. Finishing Touches
- Use decorative adhesive tape or ribbon to cover the spine, enhancing the overall appearance of your notebook.
- Use a bone folder or any flat, smooth object to carefully flatten the spine, ensuring all pages open smoothly.
Conclusion:
Embrace your creativity and learn how to make a remarkable stab binding notebook using lined loose leaf binder paper in this engaging tutorial. Unleash your artistic flair, relax, and enjoy the process of crafting your own personalized notebook that reflects your unique style. Join us in this creative journey as we guide you step-by-step towards creating an aesthetically pleasing and highly functional notebook. Craft and chill with us – the possibilities are endless!
Addition Tags and Keywords:
notebook craft, handmade notebooks, DIY stab binding, craft tutorial, creative crafts, DIY crafts, craft ideas, loose leaf binder, stab binding technique, personalized notebooks
Hashtags:
#notebookcraft #handmadenotebooks #DIYstabbinding #crafttutorial #creativecrafts #DIYcrafts #craftideas #looseleafbinder #stabbinding #personalizednotebooks


