Creating a Packaging Die Line in Illustrator: A Step-by-Step Tutorial
Introduction:
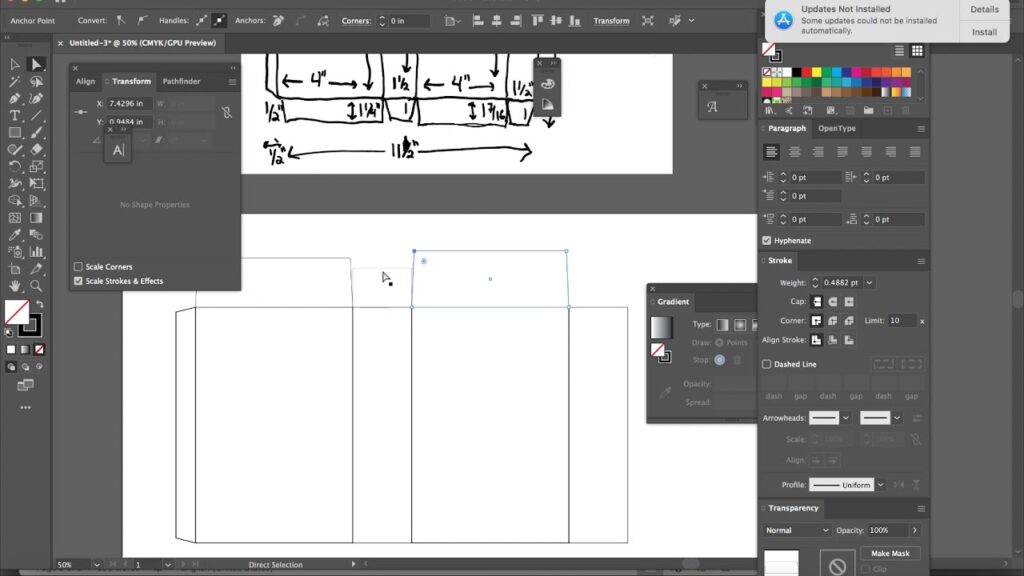
In this video tutorial, we will teach you how to create a packaging die line in Illustrator. You will learn how to use the software's tools and features to design a custom die line for your packaging project. We will also discuss the importance of creating a precise die line and how it can affect the final product. At the end of this tutorial, you will have a comprehensive understanding of how to create a die line in Illustrator.
Video Content:
The first step is to open a new document in Illustrator and set the dimensions for your packaging. Next, you will use the pen tool, the shape builder tool, and other tools to create the different elements of your die line, such as the flaps, the scored lines, and the glue areas. We will provide you with tips and tricks to make the process quicker and easier. Once your die line is complete, you can save it as a PDF file and send it to your packaging manufacturer.
At the end of the video, you will have gained a comprehensive understanding of how to create a packaging die line in Illustrator, including:
- Setting up a new document in Illustrator
- Using the pen tool to create the different elements of your die line
- Using the shape builder tool to merge and modify the elements
- Creating scored lines and glue areas
- Preparing your die line for production
- And more!
Tags and Keywords:
Illustrator, packaging design, die line, tutorial, Adobe, pen tool, shape builder tool, score lines, glue areas, PDF, manufacturing
Hashtags:
#Illustrator #packagingdesign #dieline #tutorial #Adobe #pentooll #shapebuildertool #scorelines #glueareas #PDF #manufacturing


