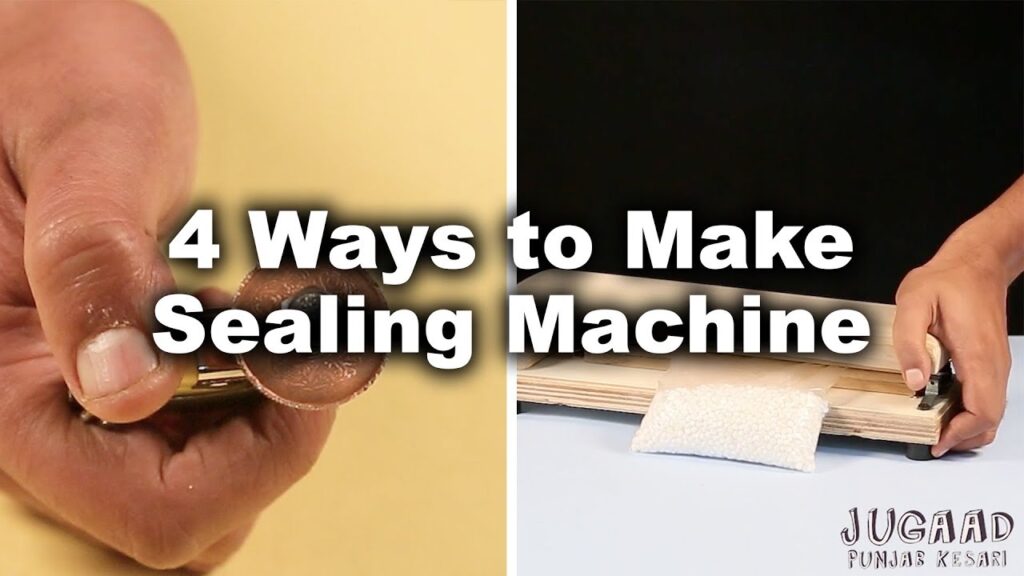
Bag Sealing Machine: 4 DIY Ways to Get Creative and Efficient
In today's fast-paced world, finding easy and efficient ways to make our daily tasks more convenient is a constant pursuit. One such task that often requires an innovative solution is sealing bags. Whether it's to keep your snacks fresh, store small items, or even package products, having a reliable bag sealing machine can make all the difference.
So, we have scoured the internet and gathered four fantastic DIY ideas to create your very own bag sealing machine. These ideas are both creative and practical, making them perfect for any DIY enthusiast. Let's dive in and explore these four amazing ways to bring efficiency into your bag sealing process.
1. The Hammer and Nail Technique:
If you don't have access to specialized tools, worry not! We can still find a way to get the job done. For this simple DIY bag sealing machine, all you need is a hammer, a nail, and a heat-resistant surface like a wooden block. Start by heating the nail using an open flame until it is red hot. Then, position the bag on the wooden block, and carefully press the hot nail along the edges of the bag. The heat from the nail will melt the plastic, effectively sealing the bag shut. Remember to apply gentle pressure and work in a well-ventilated area.
2. The Hair Straightener Hack:
Did you ever think that your hair straightener could do more than just straighten your locks? Well, it can! This hack transforms your everyday hair straightener into a bag sealing machine. Start by heating your hair straightener to a medium-high temperature. Place the bag between the heated plates of the straightener, ensuring that the open end is neatly aligned. Gently press the plates together, allowing the heat to seal the bag. Voila! Your bag is now perfectly sealed and ready to be stored.
3. The Iron and Aluminum Foil Method:
If you own an iron and some aluminum foil lying around the house, you're in luck! This technique involves utilizing the heat from your iron to seal bags efficiently. First, fold a strip of aluminum foil several times to create a thick, long strip. Then, position the foil strip at the open end of the bag, making sure it covers the entire width. With the iron set on a medium-high temperature, carefully run the heated iron along the foil strip. The heat will transfer through the foil and seal the bag securely. Remember to apply even pressure to ensure a reliable seal.
4. The Simple Candle and Spoon Technique:
For those who love a touch of simplicity in their DIY projects, this technique is as easy as it gets. To create this bag sealing machine, grab a candle, a spoon, and of course, the bag you wish to seal. Light the candle and allow it to burn steadily. While the candle is burning, take the spoon and hold it over the flame until the metal is hot. Once the spoon is heated, press it gently along the open end of the bag, melting the plastic together. Make sure to hold the sealed section for a few seconds to allow it to cool and solidify. Now you have yourself a neatly sealed bag!
With these four innovative DIY ideas, you can easily create your own bag sealing machine, no matter your tools or budget. Each method brings its unique charm and efficiency, ensuring that your bags are sealed securely and conveniently. So, the next time you find yourself in need of a bag sealing solution, get creative and try one of these DIY methods. Happy sealing!
Note: The ideas mentioned are for DIY purposes and may not provide the same level of efficiency as commercially produced bag sealing machines. Take necessary precautions while handling hot objects and ensure proper ventilation when working with heat sources.
Bagging Machine
"Efficient Techniques for Crafting Sealing and Bag Sealing Machines: Unlocking 4 Innovative Methods"

