How to Properly Prepare and Paint Bare Pine Wood: A Comprehensive Tutorial
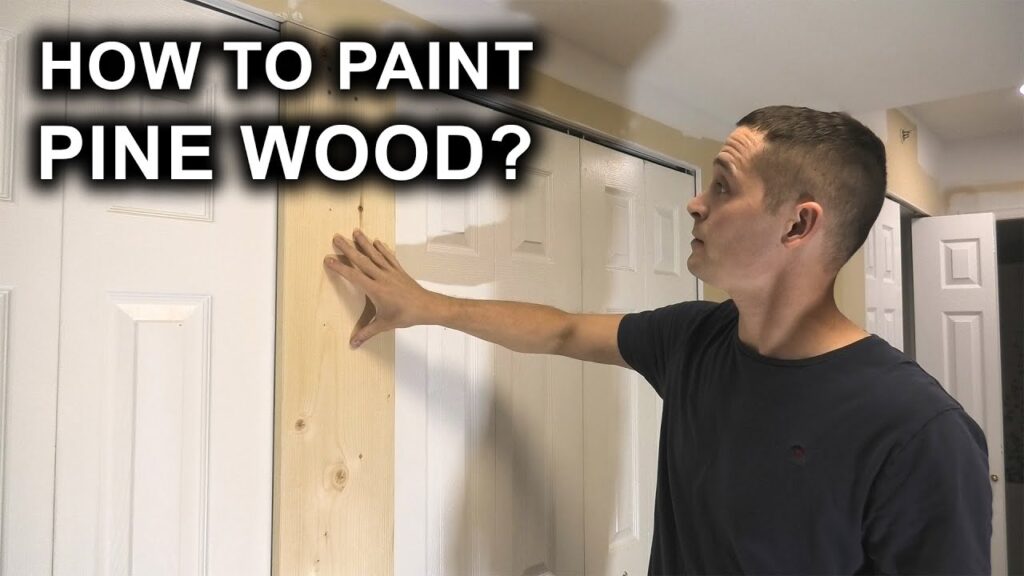
Are you looking to give your bare pine wood a fresh new look? Painting can be a great way to transform the appearance of your wooden surfaces and bring new life to your space. In this article, we will guide you through the step-by-step process of preparing and painting bare pine wood, ensuring a professional and long-lasting finish.
Wood Filler: A Key Ingredient in the Preparation Process
Before diving into the painting process, it is crucial to prepare the surface properly. One essential product that you will need is wood filler. Wood filler, such as the highly recommended DAP Wood Filler, plays a significant role in filling any cracks, crevices, or imperfections on the surface of the bare pine wood. By using wood filler, you can create a smooth and flawless base for painting.
To begin filling the holes and imperfections on the surface, apply the wood filler generously onto a putty knife. This allows for a controlled and precise application. Gently press the wood filler into the holes, making sure to overfill them slightly to compensate for shrinkage during the drying process. Once the wood filler is applied, use the putty knife to level it with the surface of the wood while smoothing out any excess. Allow the wood filler to dry completely according to the manufacturer's instructions before proceeding to the next step.
Sanding: The Secret to a Smooth and Even Finish
After the wood filler has dried, sanding is the next critical step in preparing the bare pine wood for painting. Sanding helps in creating a smooth and even surface, allowing the paint to adhere better and ensure a flawless finish.
Using a fine-grit sandpaper, gently sand the entire surface of the wood, focusing on areas with wood filler. Sanding removes any rough edges, imperfections, or residue left behind by the wood filler. Ensure you sand in the direction of the wood grain to avoid damaging the surface.
Once the sanding process is complete, wipe the surface with a clean, dry cloth to remove any dust or debris. This step is vital in achieving a clean and flawless paint application.
Priming: Enhancing Adhesion and Preventing Stains
Priming is an essential step in the painting process, especially for bare pine wood. It helps enhance paint adhesion, ensuring a long-lasting and durable finish. Additionally, a primer acts as a barrier, preventing any stains or discoloration from seeping through the paint.
One highly recommended primer for bare pine wood is shellac primer. Shellac primer, available in various brands, provides excellent adhesion and seals the wood surface effectively, thus preventing any tannins from bleeding through the paint.
Apply the shellac primer evenly across the entire surface of the wood using a high-quality paintbrush or a paint roller. Make sure to follow the manufacturer's instructions regarding drying time between coats. Multiple coats may be necessary to achieve optimal coverage and ensure the wood is protected.
Painting: Bringing Your Vision to Life
After the priming process is complete, it's time to start painting your bare pine wood. Select a high-quality latex or oil-based paint that suits your desired aesthetic. Consider factors such as color, finish, and durability when choosing the paint.
Using a clean paintbrush or a paint roller, apply the paint evenly across the primed surface in smooth and consistent strokes. Remember to follow the manufacturer's instructions regarding the recommended drying time between coats. Multiple coats might be necessary to achieve the desired color and coverage.
Once the final coat has been applied, allow the paint to dry completely before using or handling the painted surface. This step ensures that the paint cures properly and enhances the longevity of the finish.
In conclusion, properly preparing and painting bare pine wood involves a series of essential steps to achieve a professional and long-lasting finish. By using wood filler to fill holes and imperfections, sanding to create a smooth surface, priming to enhance adhesion and prevent stains, and finally painting with quality paint, you can transform your bare pine wood and bring your creative vision to life. Remember to follow the instructions provided by product manufacturers for optimal results.
So, roll up your sleeves, gather your painting supplies, and get ready to transform your bare pine wood into a beautiful masterpiece. Happy painting!
Orbital Stretch Wrapper
"How to Paint Bare Pine Wood: Fill Holes, Sand, Prime, Paint! Detailed Tutorial + Orbital Stretch Wrapper"


