How to Shrink Wrap Your Sneakers: A Step-by-Step Guide
Shoes, trainers, and sneakers are not just a fashion statement but an investment that we make to ensure our comfort and style. However, with constant wear and tear, it can be challenging to maintain their original condition. This is where shrink wrapping comes to the rescue. In this article, we will guide you on how to shrink wrap your sneakers using a plastic shrink wrap machine, ensuring that they remain protected and in pristine condition for a long time.
Step 1: Gather the Equipment
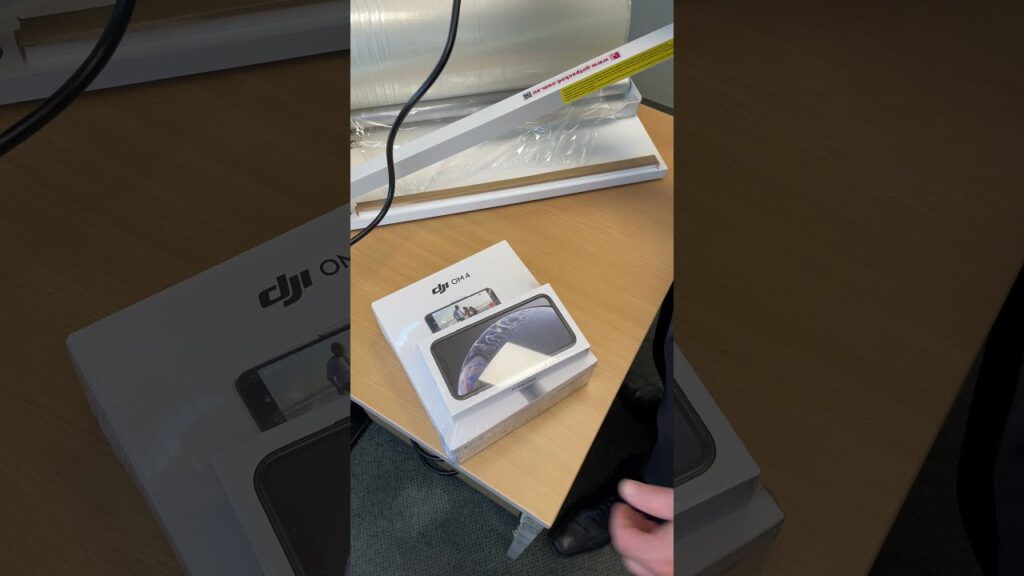
Before we dive into the process of shrink wrapping your beloved sneakers, make sure you have all the necessary tools at hand. You will need a plastic shrink wrap machine. While there are various brands available in the market, one notable option to consider is the Plastic Shrink Wrap Machine. It offers high-quality performance and sturdiness, making it an ideal choice for this task. Additionally, you will need a heat gun, scissors, and of course, the sneakers you wish to shrink wrap.
Step 2: Prepare the Shrink Wrap
Once you have everything ready, it’s time to prepare the shrink wrap material. Ensure that you have a generous amount of shrink wrap film to completely encase your sneakers without any gaps or loose ends. Unroll the film and cut it into a size that will comfortably cover your sneakers without excessive stretching. It is advised to take measurements beforehand to ensure a perfect fit.
Step 3: Place the Sneakers on the Shrink Wrap
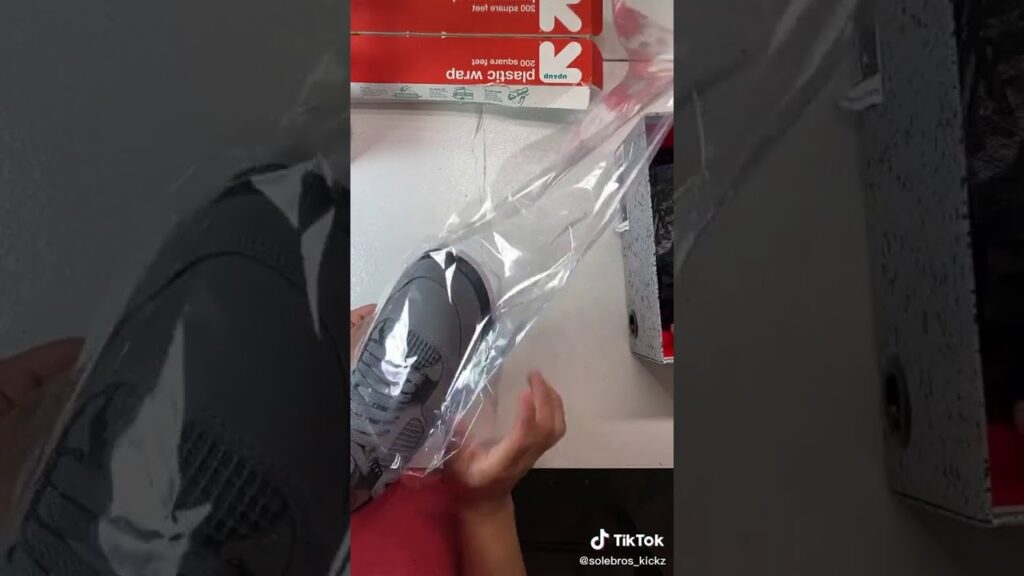
With your shrink wrap material ready, place your sneakers in the center of the film. Make sure they are positioned correctly to allow a smooth and even shrink wrapping process. Take extra care to align the front and back of your shoes parallel to the edges of the film.
Step 4: Begin Shrink Wrapping
Now, it’s time to use the plastic shrink wrap machine. Depending on the specific model you have, follow the manufacturer’s instructions for setting up and operating the machine. Ensure that the temperature and speed settings are appropriate for the material you are using to avoid damaging your sneakers. Start by positioning the heat gun over the shrink wrap film, moving it in a consistent, circular motion. As the heat is applied, the wrap will start to constrict and conform to the shape of your sneakers, creating a protective seal.
Step 5: Smooth Out Wrinkles
As the shrink wrap material begins to tighten, you may notice some wrinkles forming. Use your hands or a heat-resistant tool, such as a flat spatula, to smooth them out gently. By doing so, you will ensure a clean and professional-looking finish.
Step 6: Trim Excess Material
Once the shrink wrap material has completely and tightly sealed your sneakers, you may find that there is excess film remaining. Use the scissors to carefully trim away the excess, leaving a neat and tidy appearance. Take your time during this step to avoid accidentally cutting into the material and damaging your sneakers.
Step 7: Inspect and Enjoy
With your sneakers shrink wrapped and neatly trimmed, take a moment to inspect the final result. Admire the sleek and protected appearance of your shoes. Ensure the shrink wrap covers the entire surface without any gaps or loose corners. Congratulations! You have successfully shrink wrapped your sneakers, adding an extra layer of protection and extending their lifespan significantly.
In conclusion, shrink wrapping your sneakers can be a game-changer when it comes to preserving their condition and protecting them from elements like dust, dirt, and humidity. By following the steps outlined in this guide and utilizing a reliable plastic shrink wrap machine, such as the one mentioned, you can extend the life of your sneakers and keep them looking as good as new for years to come. So why wait? Grab your shrink wrap material, fire up the shrink wrap machine, and give your sneakers the care they deserve!
Shrinking Machine
“Effortless Sneaker Protection: Ultra-Convenient Shrink Wrapping Techniques Unveiled, Powered by State-of-the-Art Machinery!”


