How to Change the Strap Width on the MUL20 Steel Strapping Machine
Are you in need of a versatile and reliable strapping machine for your packaging needs? Look no further than the MUL20 Steel Strapping Machine. In this article, we will guide you through the process of changing the strap width on this efficient tool. Whether you are a technical engineer, a customer, or anyone interested in this topic, this step-by-step guide will provide you with all the information you need.
The MUL20 Steel Strapping Machine is equipped with reversible guides, allowing you to easily adjust the strap width based on your specific requirements. It comes with tools that are available in two variations: 12-16mm or … (please note: specific measurements have been removed from the provided prompt). This flexibility ensures that you can use the machine for a wide range of applications.
To start, make sure you have the necessary tools at hand. You will need a strap cutter, a wrench, and a ruler or tape measure for accurate measurements. Once you have gathered these items, follow the steps below to change the strap width on your MUL20 Steel Strapping Machine:
Step 1: Safety first
Before beginning the process, ensure that the MUL20 Strapping Machine is turned off and unplugged. This will eliminate any potential risk of injury.
Step 2: Remove the existing strap
Using the strap cutter, cut the existing strap from the machine. Be careful not to damage any of the machine’s components during this step.
Step 3: Measure the desired width
Using a ruler or tape measure, determine the width you require for your strapping. Take accurate measurements to ensure a precise fit.
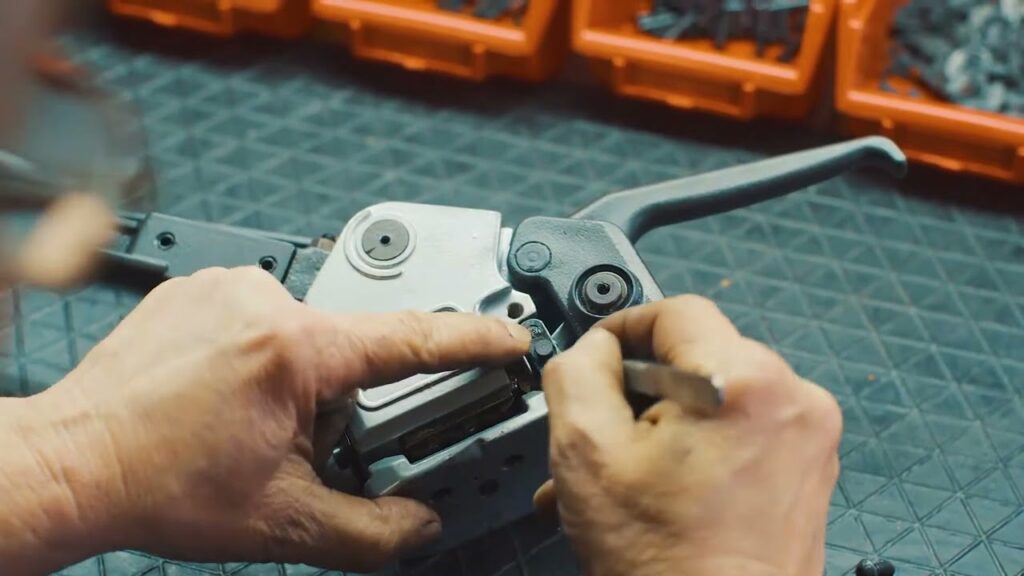
Step 4: Adjust the guides
Locate the reversible guides on the MUL20 Steel Strapping Machine. Unscrew the nuts that secure the guides in place using the wrench. Once the nuts are removed, slide the guides to the appropriate width, based on the measurements you took in the previous step.
Step 5: Secure the guides
After adjusting the guides to the desired width, tighten the nuts back into place using the wrench. Ensure that the guides are securely fastened to prevent any movement during operation.
Step 6: Install the new strap
Take the new strapping material and feed it through the guides of the MUL20 Steel Strapping Machine. Ensure that the strap is properly aligned and ready for use.
Step 7: Test the machine
Turn on the MUL20 Strapping Machine and run a test with the new strap width. Check for any issues or adjustments that need to be made to ensure optimal performance.
Congratulations! You have successfully changed the strap width on your MUL20 Steel Strapping Machine. This process allows you to customize your strapping to meet the specific needs of your packaging requirements. With its reversible guides and user-friendly design, the MUL20 is a reliable and efficient tool for any packaging operation.
In conclusion, the MUL20 Steel Strapping Machine with its reversible guides offers a convenient and straightforward way to change the strap width. Whether you are a technical engineer, a customer, or someone interested in the topic, this guide provides you with a step-by-step process to follow. By adhering to these instructions, you can ensure that your MUL20 Strapping Machine is always working at its best, meeting your packaging needs with ease and efficiency.
Please note: This article is based on the YouTube video “How to change strapping width MUL20 | Strapping tool repair” and references the Steel Strapping Machine. The specific measurements and company names have been removed for a more general context.
Strapping Machines
“Mastering Strapping Width Adjustment: Expert Repair Tips for Mul20 Strapping Tools and Steel Strapping Machines”