
Plastic Shrink Wrap Machine: A Comprehensive Guide to Installation and Operation
Using the keyword "Plastic Shrink Wrap Machine," this article aims to provide a comprehensive guide on the installation and operation of shrink film on a shrink sealing machine. Whether you are a technical engineer, customer, company owner, salesperson, or magazine editor, this guide will equip you with the necessary knowledge to effectively utilize the machine.
Installing shrink film on a shrink sealing machine can be a tricky process if not done correctly. However, with proper guidance and understanding, it can be easily accomplished. Here, we will walk you through the steps to ensure a successful installation:
Step 1: Preparation
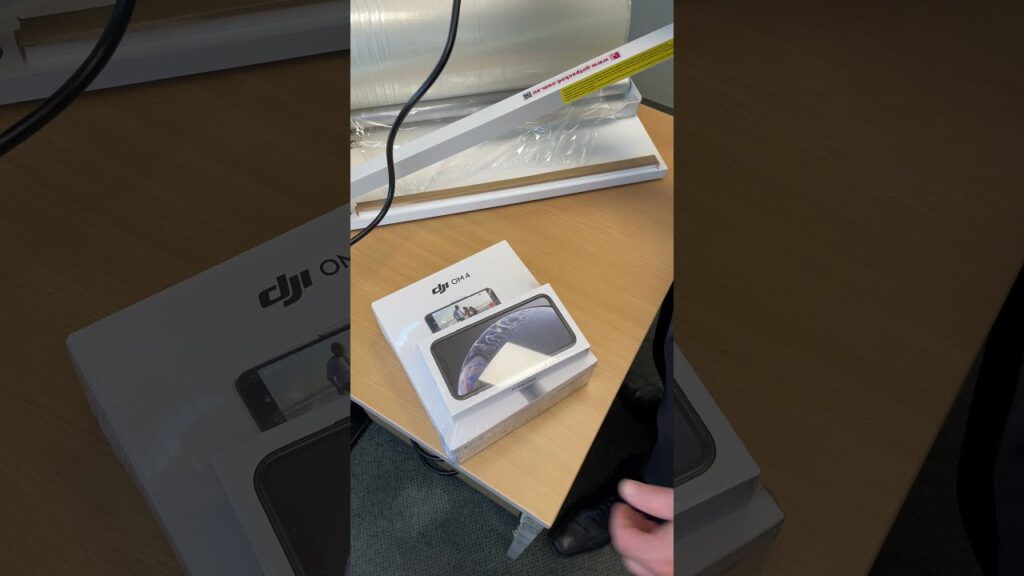
Before starting the installation process, gather all the necessary tools and materials such as a heat gun or a heat tunnel, shrink film rolls, and packaging tape. Ensure that the shrink film is of the appropriate size for your specific shrink sealing machine.
Step 2: Understanding the Shrink Wrap Film
Shrink film is a plastic film that shrinks when heat is applied. It is commonly used to wrap and protect various products during transportation and storage. The film is made from various polymers, including polyolefin and PVC. Polyolefin is widely considered the most versatile and user-friendly shrink film option.
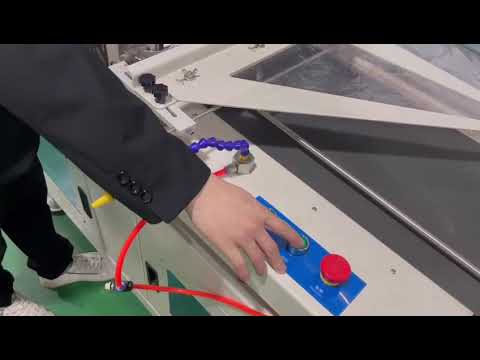
Step 3: Loading the Shrink Film
Place the shrink film roll onto the mandrel and ensure that it is properly aligned. Make sure it rolls freely and smoothly. Take note of the film tension and adjust it accordingly to avoid any wrinkling or tearing during the wrapping process. This step is crucial to ensure a neat and professional-looking shrink wrap.
Step 4: Adjusting the Heat Settings
Different shrink wrap films require different heat settings. Consult the operation manual provided with your shrink sealing machine to determine the optimal settings for your specific shrink film. The heat must be evenly distributed over the film to achieve a consistent and secure seal.
Step 5: Testing the Shrink Wrap
Before starting the actual shrink wrapping process, it is advisable to conduct a test run to ensure that all settings are correctly adjusted. Begin by wrapping a small sample product and observe the shrink film's behavior. Make any necessary adjustments to the heat settings or film tension if needed.
Step 6: Operating the Shrink Sealing Machine
Now that everything is set up, it's time to start the shrink wrapping process. Place your product onto the conveyor belt or sealing area of the machine and activate it according to the guidelines provided in the operation manual. Ensure that the shrink film is tightly sealed around the product, leaving no gaps or loose ends.
Step 7: Finishing Touches
Once the shrink wrap process is complete, allow the product to cool down before handling it. The shrink film will retain its shape and provide a tight protective barrier around the product. Trim any excess film if necessary and inspect the packaged item for quality control purposes.
In conclusion, the installation and operation of a plastic shrink wrap machine require careful attention to detail. By following the steps outlined in this guide, users can ensure a successful shrink wrap process that results in secure and visually appealing packaging. Remember to consult the operation manual provided by the manufacturer for specific details regarding your shrink sealing machine. Happy shrink wrapping!
Shrinking Machine
"Effortless Shrink Film Installation: Step-by-Step Guide for Loading Plastic onto Shrink Wrapping Machine"