
How to Change the Coil Pack on a Ford F150: A Step-by-Step Guide
If you are a proud owner of a Ford F150 truck manufactured between 2004 and 2008, you may encounter issues with the coil pack. The coil pack plays a crucial role in the ignition process of your vehicle, so it’s important that you know how to change it when needed. In this article, we will walk you through the necessary steps to replace your Ford F150’s coil pack, ensuring that your truck runs smoothly and efficiently. So, let’s dive right into it!
First and foremost, it’s essential to have the right tools before starting this project. You will need a wrench, socket set, pliers, dielectric grease, and a new coil pack. It’s worth noting that coil pack prices may vary depending on different factors such as the brand, quality, and specifications. However, on average, you can expect to pay around $50 to $150 for a new coil pack for your Ford F150.
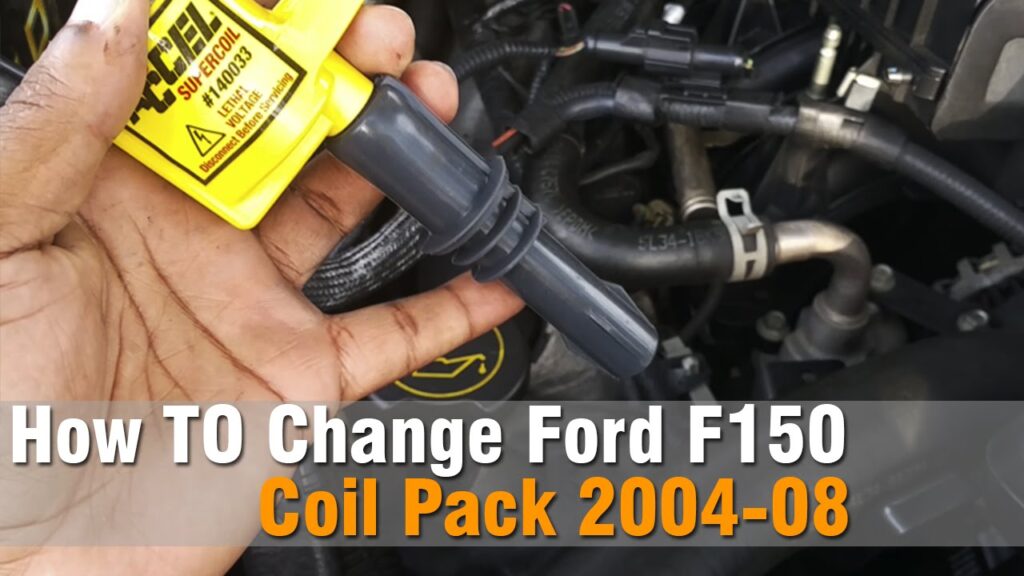
To begin, open the hood of your truck and locate the engine. Once you’ve identified the engine, you will notice a row of eight spark plugs lined up in a neat row. Each spark plug is connected to its respective coil pack. The coil pack is typically a black plastic or metal block with multiple electrical connectors.
Now, depending on your writing style choice, we will guide you through the process in an explanatory style, providing step-by-step instructions.
Step 1: Start by disconnecting the negative battery cable to prevent any potential electrical mishaps during the process.
Step 2: Locate the coil pack that needs replacement. This may require removing any engine covers or air intake components that obstruct your access to the coil pack.
Step 3: Unplug the electrical connectors from the coil pack. Use pliers if necessary to gently pull out the connectors and ensure you don’t damage them.
Step 4: Once the connectors are detached, remove the bolts or screws that secure the coil pack in place. Use a wrench or socket set to loosen and remove these fasteners.
Step 5: Carefully lift the old coil pack out of its position. You may need to wiggle it back and forth a bit to detach it completely from the spark plugs.
Step 6: Before installing the new coil pack, apply a thin layer of dielectric grease to the metal contacts on the coil pack and the spark plugs. This grease will help improve the electrical connection and prevent moisture from causing any issues.
Step 7: Place the new coil pack onto the spark plugs, making sure it fits snugly into position. Press it down firmly to ensure a proper connection.
Step 8: Secure the new coil pack by tightening the bolts or screws that you removed earlier.
Step 9: Reattach the electrical connectors to the corresponding terminals on the new coil pack. Make sure they are fully seated and secure.
Step 10: Finally, reconnect the negative battery cable that you disconnected in the beginning. This will restore power to the vehicle.
Congratulations! You have successfully replaced the coil pack on your Ford F150. Now, it’s time to test your handy work. Start your truck and listen for any abnormal noises or misfires. If everything sounds and feels right, you’re good to go!
In conclusion, changing the coil pack on your Ford F150 is a relatively straightforward process that can be done with basic tools and a little patience. By following the steps outlined in this article, you can save money on labor costs and have the satisfaction of fixing the issue yourself. Just remember to choose a quality coil pack that fits your budget without compromising on performance. And as always, prioritize safety and take precautions when working with electrical components.
So, next time you encounter coil pack problems in your Ford F150, confidently tackle the issue armed with this comprehensive guide. Happy repairing!
Coil Packing Line
“Efficient Ford F150 Coil Pack Replacement Guide for 2004-08 Models with Budget-friendly Pricing”